admin
admin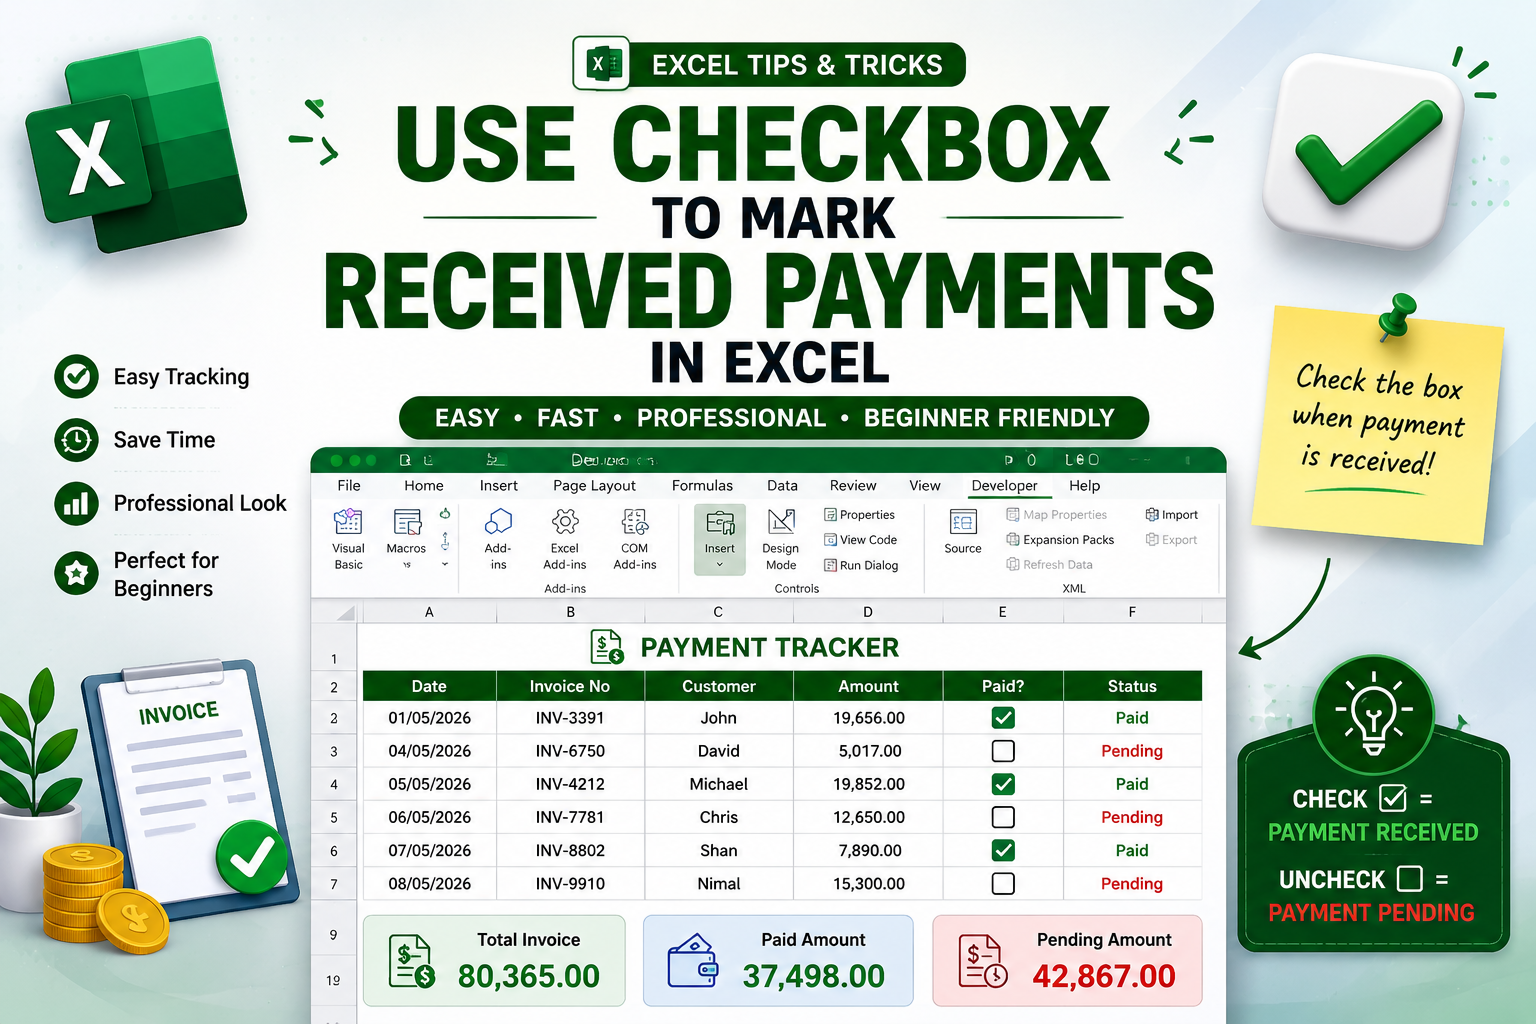
Managing customer payments in Excel can sometimes become difficult, especially when you handle many invoices every day. Some people manually type “Paid,” “Received,” or “Completed” for each invoice, but after some time the sheet becomes messy and hard to manage.
That’s why using checkboxes in Excel is one of the smartest and easiest tricks for payment tracking.
With a simple checkbox, you can instantly mark whether a payment is received or still pending. It keeps your invoice sheet clean, professional, and very easy to understand. Even if you are a beginner in Excel, you can create a professional payment tracker within a few minutes.
In this article, you will learn step by step how to use checkboxes in Excel to mark received payments, organize invoices, and improve your payment management system.
Why You Should Use Checkboxes in Excel for Payment Tracking❓
Many businesses, freelancers, shop owners, accountants, and e-commerce sellers use Excel to manage daily invoices and payments.
But when the number of invoices increases, tracking payment status manually becomes confusing.
For example:
- Which invoices are already paid?
- Which customers still have pending balances?
- Which payments were received today?
- Which invoices need follow-up?
Without a proper system, mistakes can happen easily.
This is where checkboxes become very useful.
Instead of typing words manually, you simply tick a checkbox when payment is received.
It saves time and gives your invoice sheet a clean professional look.

Benefits of Using Checkboxes in Excel
Using checkboxes for invoice tracking offers many advantages.
1. Easy Payment Tracking
You can quickly identify which invoices are paid and which are still pending. A checked box means payment received.
2. Reduces Manual Work
Instead of typing “Paid” repeatedly, you just click once. This helps reduce typing mistakes and saves time.
3. Makes Excel Sheets More Professional
Checkboxes make your invoice tracker look modern and organized.
This is especially useful if you share reports with managers, clients, or team members.
4. Better Invoice Management
When handling hundreds of invoices, visual indicators help you manage payments more efficiently. You can quickly filter or review pending invoices.
5. Perfect for Beginners
Even if you are new to Excel, adding checkboxes is very simple.
You don’t need advanced formulas or VBA coding.
Step-by-Step Guide to Add Checkboxes in Excel👣
Now let’s create a simple payment tracker using checkboxes.
👣Step 1 – Create Your Invoice Table
First, open Excel and create a basic invoice table.
Example columns:
| Date | Invoice No | Customer | Amount | Paid? |
|---|
Now enter your invoice details.
Example:
| 01/05/2026 | INV-3391 | John | 19,656 | ☐ |
| 04/05/2026 | INV-6750 | David | 5,017 | ☐ |
| 05/05/2026 | INV-4212 | Michael | 19,852 | ☐ |
This table will help you track customer payments easily.
👣Step 2 – Enable the Developer Tab in Excel
Before inserting checkboxes, you need to enable the Developer tab.
Many beginners cannot find checkboxes because the Developer tab is hidden by default.
How to Enable Developer Tab
Follow these steps:
- Open Excel
- Click on File
- Select Options
- Click Customize Ribbon
- Find the Developer option
- Tick the checkbox beside Developer
- Click OK
Now the Developer tab will appear in the Excel top menu.
👣Step 3 – Insert the Checkbox
Now we can add the checkbox.
Follow These Steps
- Open the Developer tab
- Click Insert
- Under Form Controls, select Checkbox
- Click inside the “Paid?” column
Now a checkbox will appear.
Excel automatically adds text beside the checkbox. You can delete that text to make the design cleaner.
Your payment tracker will now start looking more professional.
👣Step 4 – Resize and Align the Checkbox
Sometimes the checkbox position may not align properly inside the cell.
You can:
- Resize the checkbox
- Move it to the center
- Adjust row height and column width
This helps create a clean invoice tracker layout.
A properly aligned Excel sheet always looks more professional.
👣Step 5 – Add the Total Invoice Formula
Now let’s calculate the total invoice amount automatically.
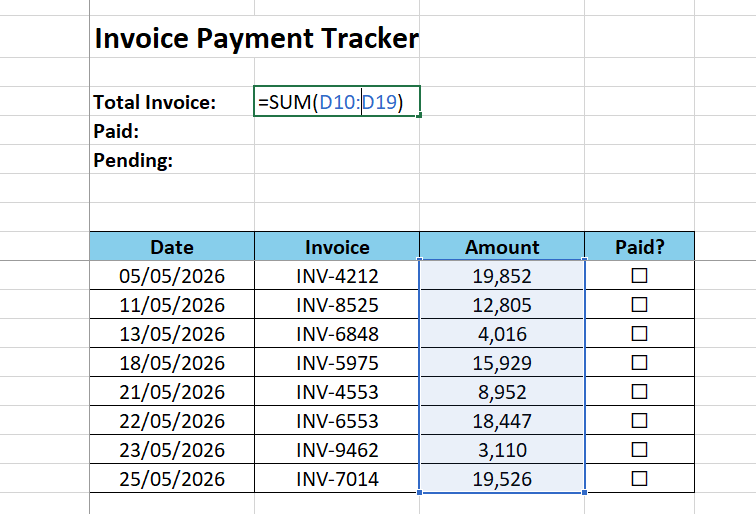
Create a summary section above the table like this:
| Total Invoice: |
| Paid Amount: |
| Pending Amount: |
If your invoice amounts are in column D, use this formula for the Total Invoice:
=SUM(D2:D100)This formula will calculate the total value of all invoices automatically.
👣Step 6 – Calculate Paid Amount Using Checked Checkboxes
Now we need to calculate only the paid invoices.
First, link each checkbox to a cell.
How to Link the Checkbox
- Right-click the checkbox
- Click Format Control
- Go to the Control tab
- Select a linked cell
- Click OK
When the checkbox is checked, Excel will show TRUE.
When unchecked, Excel will show FALSE.
Now use this formula to calculate paid invoices:
=SUMIF(E2:E100,TRUE,D2:D100)Formula Explanation
- E2 = Checkbox linked cell range
- TRUE = Checked checkbox condition
- D2 = Invoice amount range
This formula adds only the invoice amounts where the checkbox is checked.
So whenever you tick a checkbox after receiving a payment, the paid amount updates automatically.

👣Step 7 – Calculate Pending Invoice Amount
Now let’s calculate the pending invoice balance.
Use this formula:
=SUM(D2:D100)-SUMIF(E2:E100,TRUE,D2:D100)This formula calculates:
Pending Amount = Total Invoice – Paid Amount
So if you check more checkboxes, the pending balance will reduce automatically.